One of the most common questions that manufacturers, designers, and engineers often ask when considering injection molding for their production needs is: How long does injection molding take? The short answer? It varies. While the molding process itself can take anywhere from 2 seconds to 2 minutes per cycle, multiple factors come into play that can dramatically influence the overall production time. From the complexity of the mold design to the type of material used, each stage of the injection molding process plays a crucial role in determining how long it will take to manufacture your parts.
At Toolingsun, we understand the importance of optimizing the injection molding process to reduce lead times while maintaining the highest quality standards. In this post, we’ll break down the key stages of injection molding, explore what factors influence cycle time, and share practical strategies to help streamline your production process.
Understanding the Injection Molding Process
To answer the question of how long injection molding takes, it’s essential to first understand the steps involved in this advanced manufacturing process. Injection molding is a highly automated process used for producing large quantities of parts with complex shapes, typically from thermoplastic materials. Below are the primary stages of the injection molding cycle that directly impact the time required to produce a part:
- Material Selection
- Mold Design and Prototyping
- Mold Fabrication and Testing
- Injection Molding Cycle
Each of these steps contributes to the total time it takes to create a molded part.
Key Stages of the Injection Molding Process
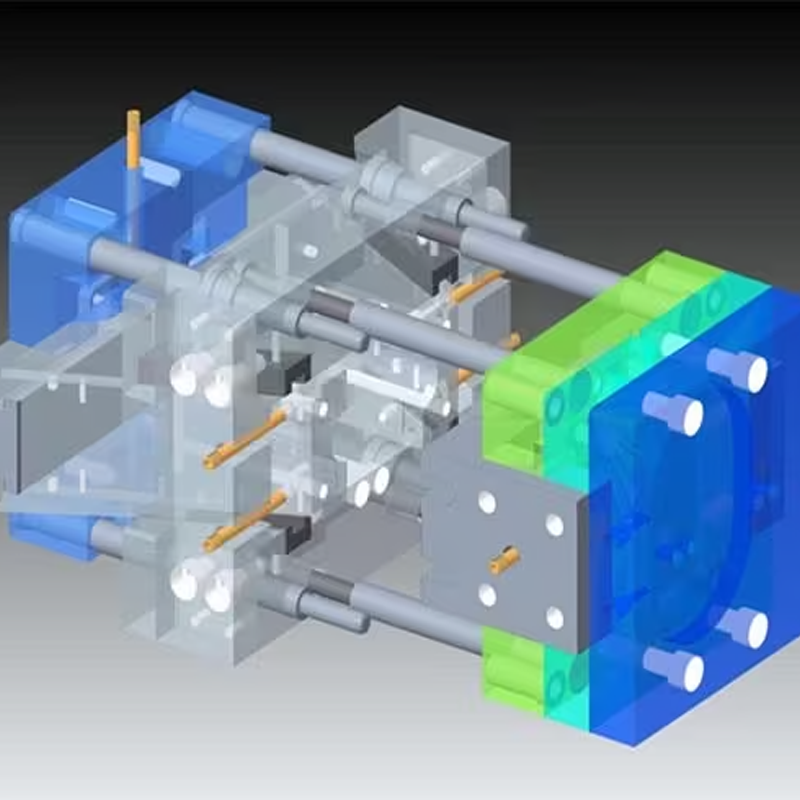
1. Mold Design and Prototyping
The first step in the injection molding process is designing the mold. This involves using Computer-Aided Design (CAD) software to create a 3D model of the part that needs to be produced. The design is carefully crafted to ensure the part is manufacturable with the injection molding process, taking into account factors such as material flow, cooling efficiency, and mold complexity.
Once the design is finalized, a prototype mold is created. Many manufacturers, including Toolingsun, use rapid tooling techniques such as 3D printing or CNC machining for prototype development. This allows for quick iterations of the design to evaluate fit, function, and manufacturability before moving on to full-scale production.
Estimated Lead Time:
- Design: 1-4 weeks, depending on complexity.
- Prototyping: 1-3 weeks for a prototype mold.
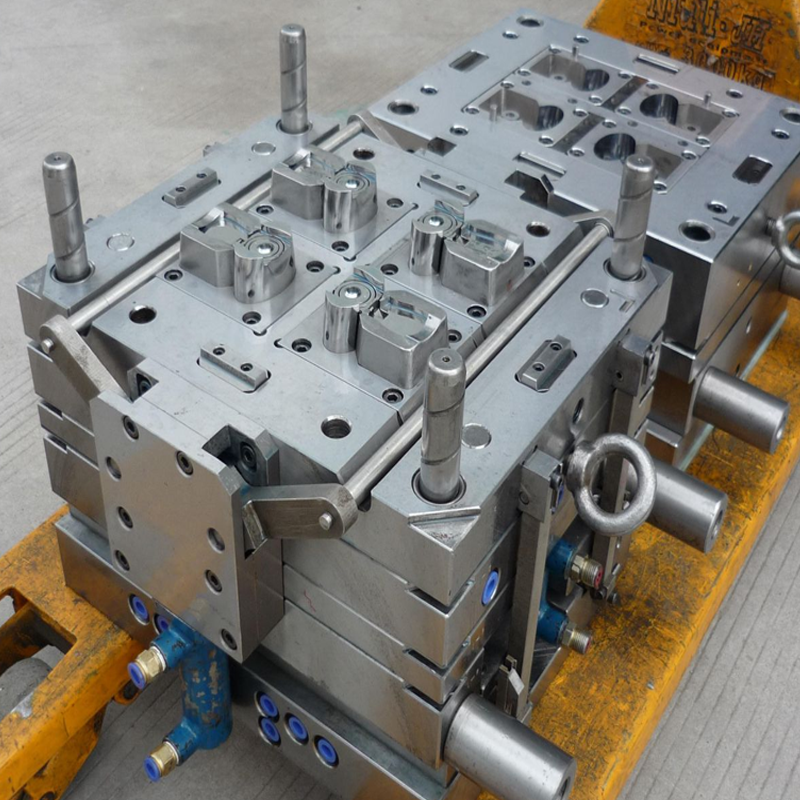
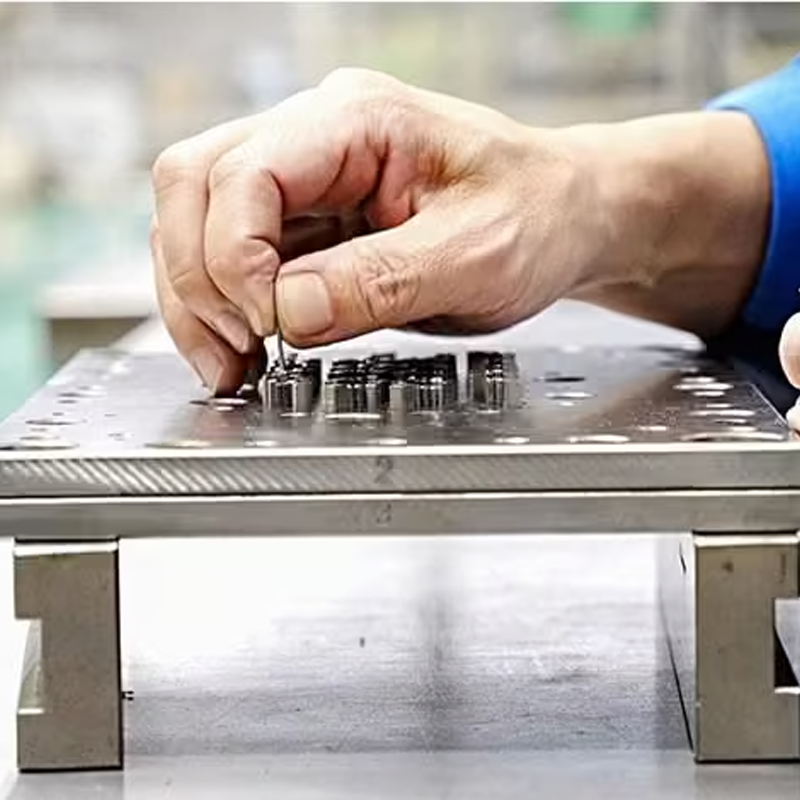
2. Mold Fabrication and Testing
Once the mold design is confirmed, the next step is mold fabrication. This is a highly detailed process where the mold is created from metals like steel or aluminum using precise machining techniques. CNC machining, Electrical Discharge Machining (EDM), and wire EDM are common methods used during this stage.
After fabrication, the mold is tested to ensure that it performs correctly under injection molding conditions. During testing, adjustments may be necessary to optimize performance, particularly for complex parts with intricate designs or special features such as multi-cavity molds.
Estimated Lead Time:
- Fabrication: 2-12 weeks, depending on mold complexity.
- Testing: A few days to a week for adjustments and final testing.
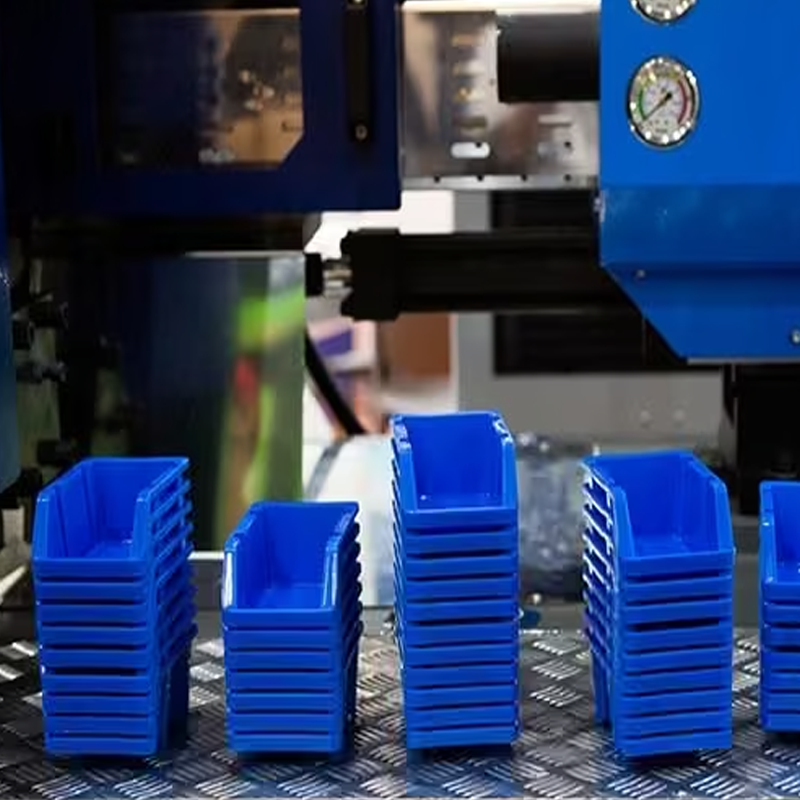
3. Injection Molding Cycle
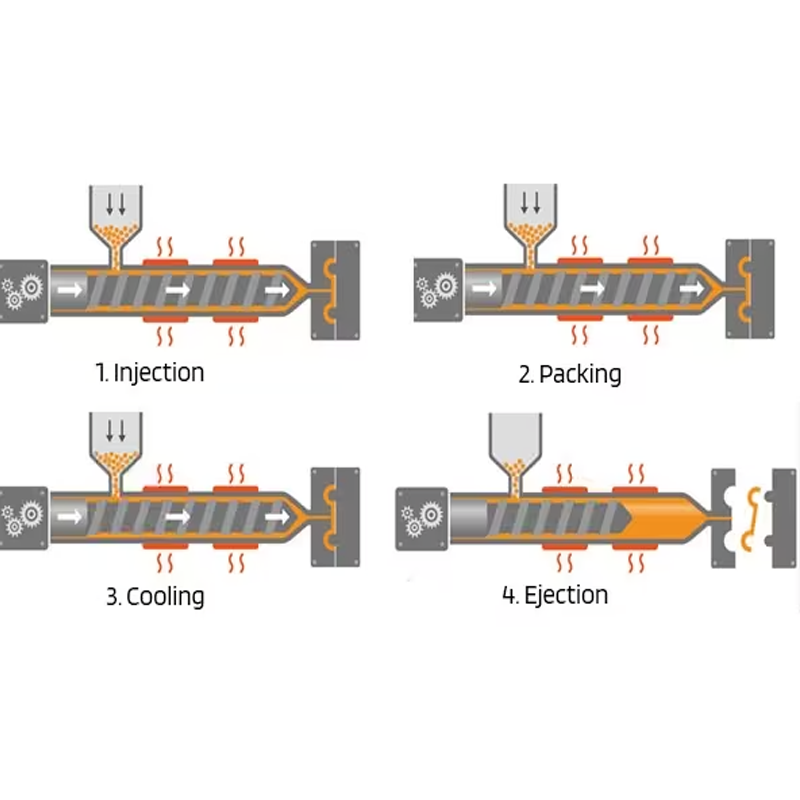
Once the mold is fabricated and tested, it is time to begin the actual molding process. The injection molding cycle involves four main stages: Injection, Packing, Cooling, and Ejection.
- Injection:The material, usually in pellet form, is heated and injected into the mold cavity at high pressure.
- Packing:Additional material is packed into the mold to compensate for shrinkage as the material cools.
- Cooling:The molten plastic cools and solidifies in the mold cavity. This is the most time-consuming phase, as thicker parts or certain materials take longer to cool.
- Ejection:Once the part is cooled, it is ejected from the mold.
Each cycle can range anywhere from a few seconds to a few minutes, depending on the part’s complexity, the material, and the molding machine settings.
Estimated Time per Cycle:
- 10 seconds to 2 minutes per part, with an overall cycle time depending on production volume and material.
Factors That Influence Injection Molding Time
Now that you understand the basic stages of the injection molding process, it’s important to look at the key factors that influence the total time needed to complete production.
1. Material Properties
The material you choose for injection molding has a significant impact on cycle time. Some materials, such as high-temperature thermoplastics, have longer melt and cooling times, which can extend the overall cycle time. In contrast, materials like standard ABS or PP are easier to process and cool faster.
- Material Melt Temperature:Materials with higher melt temperatures take longer to heat and inject.
- Material Viscosity:The flow rate of the material influences how quickly it fills the mold, with more viscous materials requiring longer fill times.
2. Mold Complexity
The complexity of the mold design is one of the most significant factors affecting cycle time. A simple, single-cavity mold will have a shorter cycle time than a complex multi-cavity mold with intricate details and specialized features. The more cavities or complex geometries your mold has, the longer it will take to fill and cool each part.
3. Part Size and Thickness
The size and thickness of the part also play a significant role in determining cycle time. Larger parts require more material and take longer to cool and solidify, which increases the overall cycle time. Thicker parts tend to have longer cooling times, while thinner parts may cool faster but require more precise control of injection speed and packing pressure.
4. Machine Efficiency
The type and quality of injection molding machines used also affect cycle times. Machines with more advanced capabilities, such as higher injection speeds or better cooling systems, can produce parts more quickly. Furthermore, the experience of the operators and the maintenance of the machines can also contribute to cycle time efficiency.
5. Production Volume
Higher production volumes often result in optimized machine settings that reduce individual cycle times. However, setup and changeover times must be considered, especially when switching between different parts or materials. Larger runs can help reduce time per unit but may require more extensive preparation.
How to Reduce Injection Molding Cycle Time
At Toolingsun, we’ve developed strategies to help streamline the injection molding process and reduce cycle time. Some of the most effective methods include:
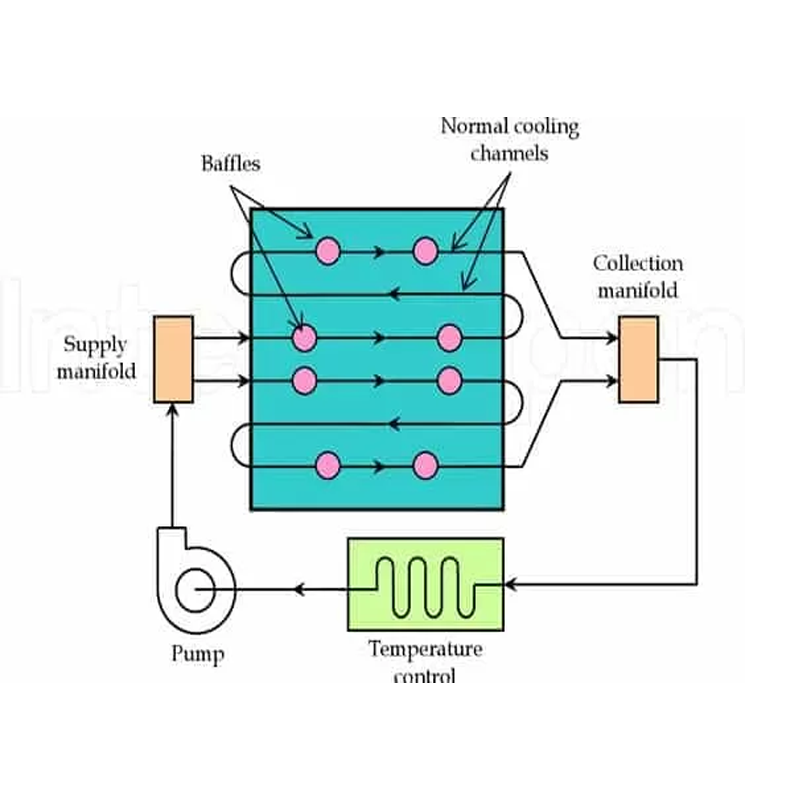
- Optimize Cooling Time:Utilize efficient cooling channel designs, such as conformal cooling, to reduce the time needed for parts to cool and solidify.
- Improve Mold Design:Streamline mold geometry and optimize gate placement to ensure quicker material flow.
- Increase Machine Efficiency:Invest in modern machines with advanced controls to speed up injection, packing, and cooling stages.
- Maintain Regular Equipment Checks:Prevent downtime by ensuring that machines are properly maintained and calibrated to ensure optimal performance.
Conclusion
At Toolingsun, we understand that time is money in manufacturing, which is why we’re committed to helping our clients optimize the injection molding process. Whether you’re creating a simple part or a highly complex component, understanding the factors that influence cycle time can help you streamline production and reduce costs. By working with our team of experts, you can ensure that your parts are produced efficiently without compromising quality.
If you’re ready to get started or need more information about injection molding and how we can help with your next project, don’t hesitate to reach out. Let Toolingsun bring your ideas to life faster and more efficiently than ever before!